
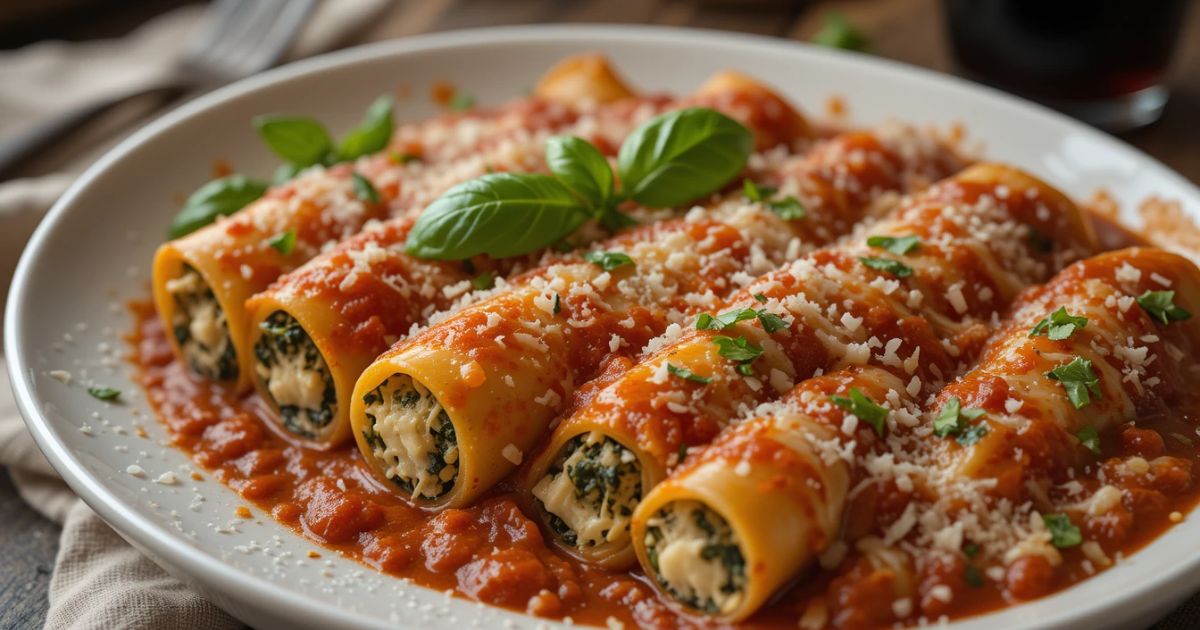
Easy Baked Manicotti Recipe with Ricotta and Marinara
Growing up in an Italian-American family, Sunday dinners were sacred. The moment my grandmother pulled her baked manicotti from the oven, the kitchen filled with an irresistible aroma. This stuffed pasta wasn’t just a meal—it was a memory maker.
Today, I’m sharing a simplified version of her classic baked manicotti recipe. It captures all the warmth and flavor of traditional Italian cuisine. Whether you’re a busy home cook or a pasta enthusiast, this recipe promises restaurant-quality results with minimal effort.
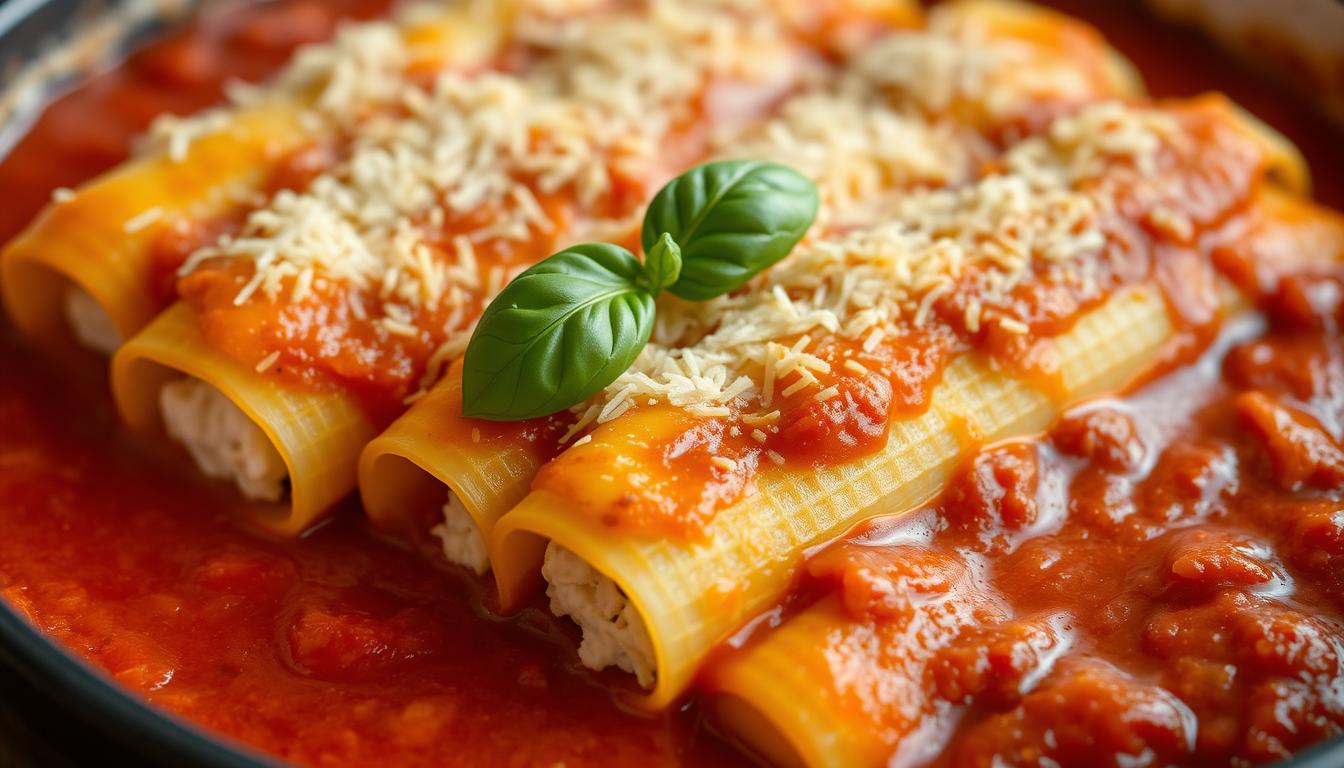
Baked manicotti represents the perfect balance of comfort and elegance. Large pasta tubes are generously filled with creamy ricotta. They’re nestled in rich marinara sauce and baked to golden perfection. It’s a dish that transforms an ordinary dinner into a celebration.
Table of Contents
Key Takeaways
- Learn an authentic Italian-American manicotti recipe
- Master stuffing techniques for perfect pasta shells
- Create a delicious meal in under an hour
- Discover shortcuts for simplified cooking
- Enjoy a versatile dinner suitable for family and guests
Understanding Manicotti: The Classic Italian Pasta Sleeves
Explore a comfort food loved by many in the United States. Manicotti is a classic Italian dish that mixes old traditions with new kitchen ideas.
The word manicotti means “little sleeves” in Italian. It describes the special tubular pasta used for tasty fillings. These large tubes are great for holding creamy cheese and savory ingredients.
Origins of Manicotti
Manicotti comes from Italian-American cooking traditions. It was created by Italian immigrants who used local ingredients to make hearty meals.
- Developed by Italian-American families in the early 20th century
- Inspired by traditional Italian pasta-making techniques
- Evolved as a versatile comfort food
Culinary Characteristics
Manicotti stands out because of its flexibility. You can fill these pasta shells with many things, like ricotta cheese or meat and vegetables.
Why This Recipe Works
The secret to great manicotti is its simple yet rich flavors. By mixing cheese, herbs, and sauce well, you can make a dish that feels like it’s from a restaurant.
“Manicotti is more than a meal; it’s a culinary journey through Italian-American heritage.” – Culinary Historian
Essential Ingredients for Perfect Baked Manicotti
Creating the ultimate baked manicotti starts with choosing the right ingredients. These ingredients work together to make a dish that’s both rich and authentic. Each part plays a key role in bringing out the flavors.
The ricotta cheese filling is the star of the dish. It gives the manicotti a creamy texture that’s both smooth and luxurious. When mixed with other ingredients, ricotta turns simple pasta into a gourmet delight.
- Ricotta cheese filling: Creamy and rich base for stuffing
- Mozzarella cheese: Adds melty, stretchy texture
- Marinara sauce: Provides tangy, vibrant flavor
- Fresh herbs: Enhances overall taste profile
Using top-notch ingredients makes a big difference in the taste of your manicotti. Fresh mozzarella cheese melts beautifully, creating those delicious stringy bits that are a hallmark of Italian food.
| Ingredient | Purpose | Recommended Quantity |
|---|---|---|
| Ricotta Cheese | Primary filling base | 15 oz |
| Mozzarella Cheese | Melting and texture | 8 oz, shredded |
| Marinara Sauce | Flavor and moisture | 24 oz |
“The secret to exceptional manicotti is using fresh, high-quality ingredients that speak for themselves.” – Italian Cooking Maestro
Your tomato sauce should be rich and full of flavor. It should coat the manicotti shells with a vibrant layer that matches the cheese filling. Tip: Making your own marinara sauce can take your dish from good to amazing.
Creating the Perfect Ricotta Cheese Filling
Making a great ricotta cheese filling is key to Italian cuisine. It turns manicotti into a comfort food favorite. The right mix of cheeses and seasonings makes this dish special.
Cheese Blend Ratios
Getting the cheese blend right is crucial. The best mix usually has:
- Ricotta cheese: 2 cups (primary base)
- Mozzarella: 1 cup (for stretch and melting quality)
- Parmesan: 1/2 cup (for depth of flavor)
Seasoning the Filling
Seasoning makes the ricotta filling taste amazing. Important seasonings include:
- Italian seasoning: 2 teaspoons
- Garlic salt: 1 teaspoon
- Dried onion powder: 1/2 teaspoon
- Freshly ground black pepper: To taste
Adding Fresh Herbs
Fresh herbs add flavor and authenticity. Consider adding:
- Basil: Chopped fresh leaves
- Parsley: Finely minced
- Oregano: Dried or fresh
Pro tip: Mix one beaten egg into your ricotta filling. It helps bind the ingredients and makes the filling smooth and cohesive.
Step-by-Step Preparation Guide
Making perfect stuffed pasta needs precision and care. This guide will help you make delicious oven-baked manicotti. It will impress your family and friends.
- Pasta PreparationCook manicotti shells in salted boiling water until they’re slightly undercooked. This keeps the pasta from getting mushy. Drain and let them cool on a clean kitchen towel.
- Ricotta Filling CreationMix ricotta cheese with eggs, Parmesan, parsley, and seasonings. Blend until it’s smooth and creamy. This makes a rich filling for your pasta.
- Stuffing TechniqueUse a piping bag or a zip-lock bag with the corner cut to fill the shells. Gently pipe the ricotta mixture. Avoid overstuffing to prevent the shells from breaking.
To make baked manicotti, layer carefully for the best texture and flavor. Start by spreading a thin layer of marinara sauce in your baking dish.
| Step | Key Action | Tip |
|---|---|---|
| 1 | Sauce Base | Prevent sticking and add flavor |
| 2 | Place Stuffed Shells | Arrange in single layer |
| 3 | Cover with Sauce | Ensure complete coverage |
| 4 | Add Cheese Topping | Mozzarella and Parmesan |
For the final step, cover the dish with foil and bake at 375°F for 25-30 minutes. Remove the foil for the last 10 minutes. This will make the cheese topping golden and bubbly.
Tips for Stuffing Manicotti Without Breaking Shells
Stuffing manicotti is a key skill for making a tasty pasta dish. It can be challenging, but with the right methods, you can make it a hit. This turns a simple family meal into a feast.
Stuffing manicotti needs care and smart strategies. This keeps the shells whole while making the filling delicious.
Piping Bag Technique: The Professional’s Method
The best way to fill manicotti is with a piping bag. It’s precise and keeps the pasta from tearing.
- Choose a large piping bag or a gallon-sized zip-top bag
- Cut a generous corner opening (about 1/2 inch)
- Fill the bag with room temperature ricotta mixture
- Gently pipe filling into shells without overstuffing
Common Mistakes to Avoid
Staying away from common mistakes is crucial for perfect stuffed pasta.
| Mistake | Solution |
|---|---|
| Cold filling | Let filling reach room temperature |
| Overfilling shells | Fill 3/4 full to prevent splitting |
| Rough handling | Use gentle, consistent pressure when filling |
“Patience and technique are the secret ingredients to perfect manicotti” – Italian Cooking Wisdom
By practicing these methods, you’ll improve your pasta-making skills. Your family meal will be a hit, impressing everyone at dinner.
Selecting and Preparing the Marinara Sauce

Making the perfect tomato sauce is key to making your baked manicotti amazing. In Italian cooking, marinara sauce is the heart of many dishes. It adds rich flavor and makes the dish feel authentic.
When picking marinara sauce for your manicotti, you have two main choices:
- High-quality store-bought marinara
- Homemade marinara sauce
If you’re short on time, a good jarred marinara can be a lifesaver. Look for brands with:
- Minimal ingredients
- San Marzano tomatoes
- No added sugars
“The best marinara sauce should taste like fresh tomatoes, not sugar.” – Italian Cooking Experts
But if you have time, making your own marinara is worth it. You’ll need ripe tomatoes, fresh basil, garlic, and good olive oil. Let the sauce simmer to get deep, rich flavors that go well with the pasta.
Pro tip: Add a bit of water to your marinara sauce. This keeps the dish from getting too thick while it bakes. Your manicotti will stay moist and full of flavor.
Proper Layering Techniques for Baked Manicotti
Making perfect baked manicotti is more than just stuffing pasta shells. The way you layer the ingredients affects the taste, texture, and look of the dish. Learning these techniques can turn your stuffed pasta into something truly special.
To make a tasty oven-baked manicotti, layering ingredients is key. The base of a great manicotti starts with a good foundation. Then, arrange the stuffed shells carefully.
Creating the Perfect Base Layer
Begin by spreading marinara sauce at the bottom of a 9×13-inch baking dish. This step is vital for several reasons:
- It prevents the pasta from sticking to the pan
- It adds more flavor
- It keeps the dish moist while baking
Arranging Stuffed Shells with Precision
When placing your stuffed manicotti, keep these tips in mind:
- Arrange shells in a single layer, without overlap
- Leave a little space between each shell
- Top with the remaining marinara sauce to cover all shells
“The secret to perfect baked manicotti is in the details of layering and sauce coverage.” – Professional Chef
Good layering makes sure each bite of your manicotti is full of flavor. It also ensures the right balance of sauce and pasta. By using these methods, you’ll make a dish that looks great and tastes amazing, impressing everyone at the table.
Cooking Time and Temperature Guidelines
Learning to cook perfect oven-baked manicotti is key. It turns this Italian dish into a family favorite. The cooking process has two main steps. These steps make the pasta tender and the cheese melt just right.
Getting the temperature and timing right is essential. Preheat your oven to 375°F (190°C) for the best results. The first baking phase cooks the pasta until it’s tender.
- First stage: Bake covered for 50 minutes
- Second stage: Uncover and add more cheese
- Final baking: 10-15 minutes until cheese melts
Every oven is different, so you might need to make small changes. Here are some important signs to check for perfect cooking:
| Doneness Indicator | What to Look For |
|---|---|
| Pasta Texture | Tender but not mushy |
| Cheese Appearance | Golden and slightly bubbling |
| Sauce Consistency | Slightly thickened around edges |
Pro tip: Always use an oven-safe dish with a tight-fitting lid during the initial covered baking phase. This traps moisture and ensures even cooking throughout your manicotti.
The secret to an exceptional oven-baked manicotti lies in patience and precise temperature control.
Make-Ahead and Storage Options
Baked manicotti is a versatile comfort food perfect for busy families. It can be made ahead of time, saving time without losing flavor. This makes it a favorite for home cooks.

Preparing manicotti early can save time on busy weeknights. It’s flexible for meal prep and storage.
Freezing Instructions
To freeze baked manicotti, follow these steps for the best taste and texture:
- Assemble the manicotti completely before freezing
- Use airtight, freezer-safe containers
- Wrap tightly with plastic wrap and aluminum foil
- Label with the date of preparation
Storage Duration and Reheating Methods
| Storage Location | Maximum Duration | Recommended Reheating Method |
|---|---|---|
| Refrigerator | 3 days | Oven at 350°F, covered |
| Freezer | 2 months | Thaw overnight, bake at 375°F |
When reheating, always ensure the internal temperature reaches 165°F for food safety. For best results, remove from the refrigerator 30 minutes before reheating to allow even warming.
These make-ahead strategies make manicotti a convenient and tasty family meal. It can be enjoyed with little effort on the day of.
Recipe Variations and Customizations
Baked manicotti is a canvas for creative cooks. It lets you turn a classic Italian dish into a meal that’s uniquely yours. The stuffed pasta’s flexibility means you can try out new ingredients and flavors.
Meat enthusiasts can add savory proteins to their manicotti:
- Spicy Italian sausage
- Shredded chicken
- Ground beef
- Seasoned meatballs
Vegetarian options add color and nutrition to this dish. Try these veggie-packed alternatives:
- Roasted zucchini
- Sautéed spinach
- Caramelized bell peppers
- Grilled eggplant
For those who love to experiment, mixing up the cheese can change the game. Goat cheese, mascarpone, or a mix of Italian cheeses can introduce new tastes.
If you’re up for a challenge, making your own manicotti shells is rewarding. It adds a personal touch to this beloved dish. Each twist on the recipe tells a story, making it a special family meal.
Serving Suggestions and Pairing Ideas
Creating the perfect Italian meal is more than just cooking. Baked manicotti is a versatile dish that can be made special with the right serving ideas and pairings.
Here are some tips for serving your manicotti:
- Garnish with fresh basil leaves for a pop of color and aroma
- Sprinkle freshly grated Parmesan cheese on top
- Serve on a white ceramic platter for elegant presentation
Wine pairing can make your meal even better. Choose wines that match the flavors of your manicotti:
| Wine Type | Flavor Profile | Recommended Pairing |
|---|---|---|
| Chianti Classico | Medium-bodied red | Pairs perfectly with tomato-based manicotti |
| Pinot Grigio | Light white | Complements cheese-filled shells |
For a full meal, try these side dishes with your baked manicotti:
- Crisp Caesar salad
- Garlic bread
- Roasted vegetables
“The secret to a memorable Italian dinner is not just in the cooking, but in the sharing.” – Chef Mario Batali
Whether it’s a family dinner or a special occasion, these tips will make your baked manicotti unforgettable.
Conclusion
Learning to make baked manicotti turns a simple meal into a special event. It’s not just a dish; it’s a way to share family traditions and enjoy delicious flavors together.
To make perfect baked manicotti, you need patience, passion, and a love for Italian cooking. Choosing the best ingredients and learning how to fill pasta shells are key. This way, you can make a meal that everyone will love and remember.
Baked manicotti is great for any meal, whether it’s a weeknight dinner or a big celebration. The mix of creamy ricotta, tangy marinara sauce, and tender pasta is truly amazing. It captures the essence of Italian cooking.
Start your baking journey with baked manicotti and enjoy it with your family. Every time you make it, you’ll get better and share a piece of Italian-American tradition with your loved ones.
FAQ
What are manicotti shells?
Manicotti are large, tube-shaped pasta shells made from semolina flour. They’re perfect for stuffing with ricotta cheese mixtures. Then, they’re baked with marinara sauce and more cheese.Unlike smaller pasta, manicotti shells are big. They’re filled with creamy cheese and herbs.
Can I make manicotti ahead of time?
Yes, you can make manicotti ahead of time. Prepare the casserole and refrigerate it for up to 24 hours before baking. You can also freeze it for up to 3 months.When freezing, wrap the dish tightly in plastic wrap and aluminum foil. This prevents freezer burn.
What’s the best way to stuff manicotti shells without breaking them?
Use a piping bag or a large zip-top bag with the corner cut off. This method fills the shells without tearing. Remember, slightly undercook the pasta shells first. This makes them flexible during stuffing.
Can I make vegetarian manicotti?
Absolutely! You can make delicious vegetarian manicotti with various vegetable fillings. Try spinach, roasted zucchini or eggplant, or a mix of cheeses. The key is to keep it creamy and flavorful.
What cheeses work best in manicotti filling?
Ricotta cheese is the base, but adding other cheeses enhances flavor. Mozzarella adds creaminess, while Parmesan adds a sharp note. Some recipes include cottage cheese for texture.A mix of 70% ricotta, 20% mozzarella, and 10% Parmesan works well.
How long should I bake manicotti?
Bake manicotti at 375°F (190°C) for 25-35 minutes. Cover it for the first 20 minutes to prevent drying. Then, bake uncovered for 10-15 minutes to brown the cheese.
Can I freeze leftover manicotti?
Yes, manicotti freezes well. Cool it completely, then store in an airtight container or wrap tightly. It can be frozen for up to 3 months.Thaw it in the fridge overnight and reheat at 350°F until hot.
What are good side dishes to serve with manicotti?
Serve manicotti with garlic bread, a green salad, roasted vegetables, or Caesar salad. For wine, a medium-bodied red like Chianti or Sangiovese pairs well.